
How to improve photos on cloudy days using apps.
To improve photos on cloudy days Using mobile apps is the quickest way to recover washed-out images.
Adverts
Diffuse light has its advantages, but it comes at a high price: it flattens the contrast and makes any scene look neglected.
Too many people give up on photography when the sun disappears. The trick is to understand that this gray haze acts as a giant diffuser and, with a few taps on the right buttons, becomes a palette ready to gain volume.
This practical guide shows you how to master soft lighting, choose software that truly solves the problem, and apply a direct flow. You can adjust shadows, recapture the sky, and bring colors back to life without spending hours in front of the screen.
Summary
- Why do cloudy days affect photo quality?
- What are the best apps for editing photos on cloudy days?
- Comparison of features of the main applications
- How to fix a gray sky and recover image details?
- What are the step-by-step instructions for editing an image without losing its natural appearance?
- Conclusion
- Frequently Asked Questions (FAQ)
Why do cloudy days affect photo quality?
That thick layer of clouds acts as the atmosphere's natural softbox. There's something curious about this: while the lack of harsh shadows makes portraits easier, it kills the depth of any urban or natural landscape.
advertising
Phone sensors often get lost in this measurement. Without a clear point of sunlight, the phone's software delivers the result. photos on cloudy days with a bluish veil, devoid of any kind of relief or life.
But don't be fooled by the initial lack of impact. This scene holds valuable information in both the light and dark areas, serving as a perfect neutral base for editing.
What are the best apps for editing photos on cloudy days?
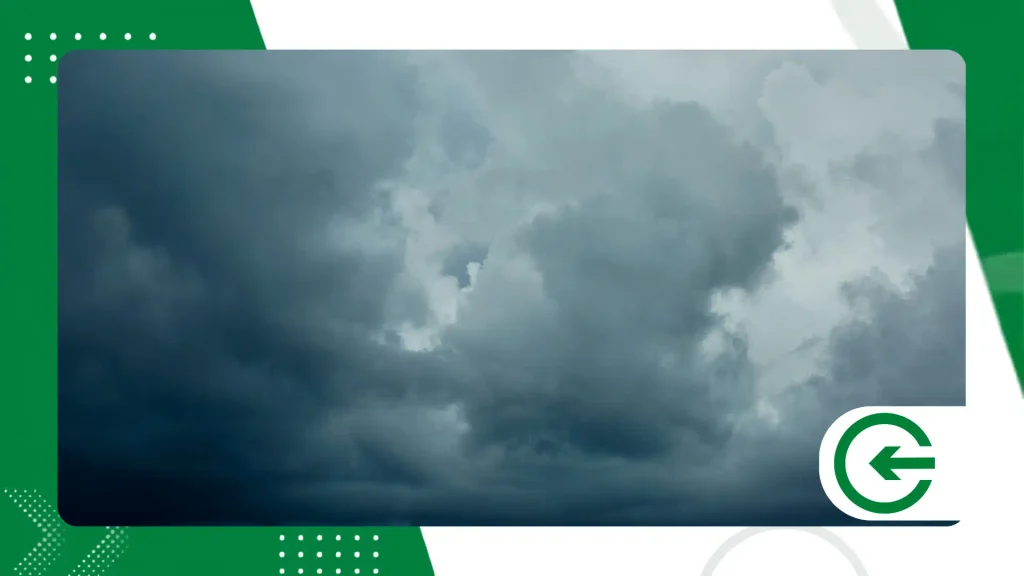
The choice of application determines whether the image will look like a professional edit or a poorly done collage. The secret lies in using tools that allow you to isolate the sky without destroying the horizon line.
Adobe Lightroom Mobile remains the industry standard for a simple reason: the surgical precision of its masks. It identifies the sky on its own and lets you adjust only that area in seconds.
For those who prefer to avoid monthly subscriptions, Snapseed performs excellently. The selective adjustment tools and exposure brush solve the problem of dark areas without complication.
The striking aesthetic of VSCO It excels when the intention is to emulate analog films. Its presets bring back the warmth and texture that the gray atmosphere insists on stealing from the scene.
How to transform your photos and master diffused lighting.
Photographing under a sky covered in clouds often discourages most people who seek vibrant and contrasting images.
The big mistake is seeing the gray weather as an obstacle, instead of viewing the soft light as a valuable technical asset.
The thick layer of clouds acts as a huge natural diffuser that eliminates harsh shadows and softens the lines on the faces of those being photographed.
This even distribution of light preserves valuable details in both the brightest and darkest areas of the frame.
++ How to use adjustment masks in Lightroom on your smartphone
Comparison of features of the main applications
| Application | Strong Point | AI Mask | Price |
| Adobe Lightroom | HSL control and precise masks | Yes | Free (Pro features available for a fee) |
| Snapseed | Brush and easy selective adjustment | No | Free |
| VSCO | Movie emulation presets | No | Free (Paid annual plan) |
| Photomator | Fast processing on iOS | Yes | Paid (One-time purchase or subscription) |
How to fix a gray sky and recover image details?
Adjusting the color temperature is the most urgent move to save money. photos on cloudy daysPull the bar slightly towards warmer tones and you'll see the scene instantly lose that clinical feel.
The control of Dehaze (Defogging) works wonders, but is often misinterpreted by beginners. Use a light hand; pressing too hard creates a horrible noise and black edges on buildings.
Working on clarity focuses on the micro-contrast of textures in the foreground. This compensates for the flat lighting of the day and restores a sense of depth to the viewer's eye.
++ How to create a neon light effect in photos using free apps.
What are the step-by-step instructions for editing an image without losing its natural appearance?
Editing a photo without turning it into an artificial painting requires method. Following a logical order of adjustments ensures that the file doesn't lose definition during the editing process.
1. White Balance Adjustment:Correction of cold dominant pattern.
Increase the temperature between +3 and +8 to warm up the scene's tone. The goal is to neutralize the bluish light without yellowing the atmosphere.
2. Highlight and Shadow Restoration:Rescuing visual dynamics.
Lower the highlights to reveal the cloud formations. Then, raise the shadows slightly to reveal what's hidden on the ground.
3. Application of Selective Masking in the Sky:Isolation of the background.
Select only the sky area to darken the background. A little local contrast in that area brings back the drama of the weather.
4. HSL Edition (Hue, Saturation, and Luminance):Vibrancy for the colors.
Increase the saturation of yellows and greens to brighten vegetation. Adjust the luminance to prevent fur from appearing grayish.
5. Detail Enhancement and Noise Reduction:Ultimate clarity without artifacts.
Apply sharpness only where there are sharp edges. If the editing has introduced unwanted grain, apply a light touch of noise reduction.
Following this sequence avoids excesses and preserves the inherent charm of cold days. It's about appreciating cloudy weather, not inventing a sunny day that never existed.
If you want to advance your technical understanding of color and mobile capture, it's worth consulting the collection of... Adobe Photography to understand how to get the most out of your sensor.
What is the most common mistake when editing photos on cloudy days?

The most common mistake is trying to force non-existent sunlight by overdoing the saturation and contrast.
This excess transforms photos on cloudy days in plastic images, with artificial orange halos and excessive noise on the edges of buildings and trees.
The secret lies not in masking the mood, but in respecting the gentle atmosphere and focusing on restoring textures and volumes.
Preserving the scene's natural melancholic tone while adjusting sharpness and white balance ensures an authentic and professional result.
++ Photo editing for homemade products that sell more.
Conclusion
Recover photos on cloudy days It's more a matter of patience in editing than luck with the weather. The clouds create a neutral and flawless lighting, perfect for those who know how to use the right apps.
Correcting the color temperature and applying specific adjustments to the sky changes the level of any recording. Do some tests on your phone and start viewing bad weather as a creative opportunity.
Frequently Asked Questions (FAQ)
What's the best white balance for cloudy photos?
Using the “Cloudy” preset or manually setting the temperature between 6000K and 6500K immediately cuts the cool blue tint from diffused light.
Should I use HDR on days with heavy cloud cover?
It's definitely worth it, as HDR combines photos with different exposures to preserve the details of the bright sky without leaving the ground in darkness.
How can I prevent the sky from looking overexposed or too white?
Reduce the highlights in the editor or create a spot mask over the horizon to reduce the lighting without altering the rest of the composition.
Is it better to shoot in RAW or JPEG under diffused light?
The RAW format saves significantly more color and dynamic range data, allowing you to retrieve cloud patterns without destroying quality.
