
Lighting tricks that instantly improve your photos.
Apply Lighting tricks that improve your photos. It immediately changes everything in the visual result, rescuing images from a generic tone without requiring heavy investments in equipment.
Adverts
Light has never been a mere technical detail; it is the raw material that defines depth, shapes contrast, and dictates the atmosphere of the captured scene.
Understanding how light behaves in real-world environments allows you to avoid that harsh shadow that ruins a portrait and restores the texture to your photos that sensors often flatten.
Summary
- Why does the right lighting transform the quality of your photo?
- How can you use natural light to your advantage in outdoor photos?
- What is the difference in impact between hard light and soft light in images?
- Where should light sources be positioned to enhance portraits?
- What affordable equipment can help to reflect and diffuse light?
- Comparative table of lighting types and their effects.
- Conclusion
- Frequently Asked Questions (FAQ)
Why does the right lighting transform the quality of your photo?
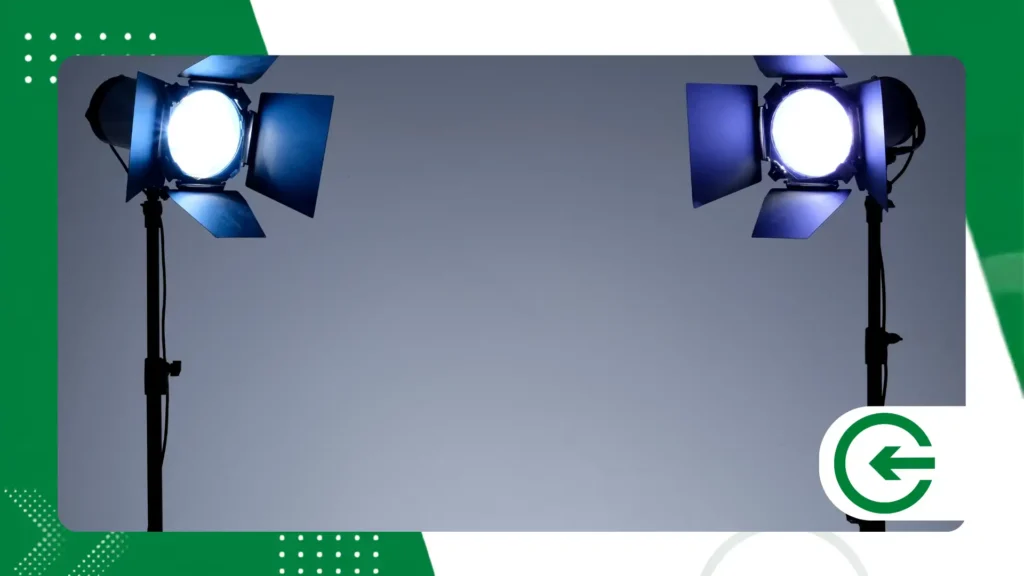
The camera sensor acts as a trap for photons: if the light flow is scarce or poorly directed, the image suffers from digital noise and faded tones.
When you master Lighting tricks that improve your photos.It then guides the viewer's gaze, creating hierarchy and intention instead of a mere casual record.
advertising
There's something revealing when you observe veterans on set: they rarely start by adjusting the camera; their initial obsession is always to sculpt the scene with the available lighting.
Working with the light at its source cuts out hours of laborious corrections in editing software, where artificially adjusting exposure costs the fidelity of colors and the sharpness of details.
It is the side or diagonal light that sculpts the three-dimensional volume on a flat canvas, giving visual weight to what would otherwise appear dull and lifeless.
How can you use natural light to your advantage in outdoor photos?
The sun close to the horizon casts warm tones and elongated shadows that are difficult to replicate in a studio without complex reflectors.
Photographing under the midday sun is often a classic mistake: the direct lighting creates artificial dark circles and harsh lines on people's faces.
Conversely, the cloudy sky acts as a giant, free diffuser, distributing the light evenly and eliminating excessive contrasts in the scene.
Positioning the subject with their back to the sun creates that jagged, slanted shine in the hair — the famous rim light —, elegantly highlighting the figure in the background.
Adjusting the body position a few steps to the side drastically changes the contrast of the face; street photography demands this constant reading of the surrounding shadows.
What is the difference in impact between hard light and soft light in images?
The harsh light comes from small or distant sources and casts sharp-edged shadows, creating a dramatic, sometimes aggressive, and quite pronounced atmosphere.
Soft light, on the other hand, originates from large surfaces close to the object, creating velvety transitions between the light and dark areas of the painting.
Knowing when to use each one is part of the Lighting tricks that improve your photos.because the emotional appeal of the image depends directly on this choice.
The beauty publishing market demands smoothness to even out skin tone, while documentary photography often seeks the harshness of harsh light to convey tension.
To understand how the sensors capture visible radiation at different wavelengths, it is worth consulting the technical documentation at [link/source]. Canon Science Lab, a solid reference in applied optics.
Where should light sources be positioned to enhance portraits?
Positioning the main light slightly above eye level and offset by 45 degrees creates the classic Rembrandt pattern, famous in Baroque painting.
This technique creates a small, luminous triangle on the opposite cheek, adding mystery and depth without sacrificing the details of the facial expression.
Pointing the light source straight at the face eliminates shadows, but flattens facial features, leaving the face without structural volume.
Whether the goal is to convey isolation or strength, split side lighting—which covers only half of the face—delivers that impact accurately.
Inserting a soft light source behind the model helps to silhouette the shoulders against the background, preventing the subject from blending into the surrounding scene.
++ Cinematic filters in VSCO for travel photos
What affordable equipment can help to reflect and diffuse light?
5-in-1 reflectors are inexpensive and offer control over light intensity, allowing you to fill in shadows or warm up the scene with the golden side.
For those seeking improvised alternatives, a sheet of styrofoam positioned on the opposite side of the window works as an efficient and quite soft filler.
White curtains made of thin fabric transform the strong afternoon light into a broad, diffused source, perfect for portraits taken in small apartments.
Table lamps covered with parchment paper soften the harshness of regular light bulbs, creating a controlled light source for photographing small objects.
++ Food photo editing to highlight dishes and drinks.
Comparative table of lighting types and their effects.
The following table summarizes how different lighting settings alter the aesthetics of an image and when it makes sense to use each one:
| Lighting Type | Origin / Source | Visual Effect in Photo | Best Application |
| Golden Hour | Low sun (sunrise/sunset) | Warm tones, long shadows, and soft light. | Outdoor portraits and landscapes |
| Cloudy Light | Sky overcast with clouds | Even lighting without harsh shadows. | Product photos and portraits |
| Rembrandt | Light at a 45° angle to the subject and high | Triangle of light on the opposite cheek | Dramatic and artistic portraits |
| Fill Light | Reflector or soft flash | Softens shadows without washing out the main light. | Beauty shoots and events |
| Backlighting | Source positioned behind the subject | Creates illuminated silhouettes or outlines. | Creative and conceptual photography |
How can you take advantage of window lighting for indoor photography?
Positioning the object sideways towards a well-lit window creates a natural transition of light and shadow, revealing subtle textures that overhead lighting often obscures.
Avoid direct sunlight hitting the glass, as excessive intensity will blow out highlights and create irreparable black areas in the captured scene inside the room.
Using thin white curtains helps transform the incoming air and sunlight into a large, gentle source, distributing photons without harming the natural skin tone.
It's fascinating to notice how the ambient tone changes throughout the day: north-facing windows ensure consistency, while the late afternoon light brings a warm, welcoming yellow hue.
What is the role of backlighting in photographic composition?
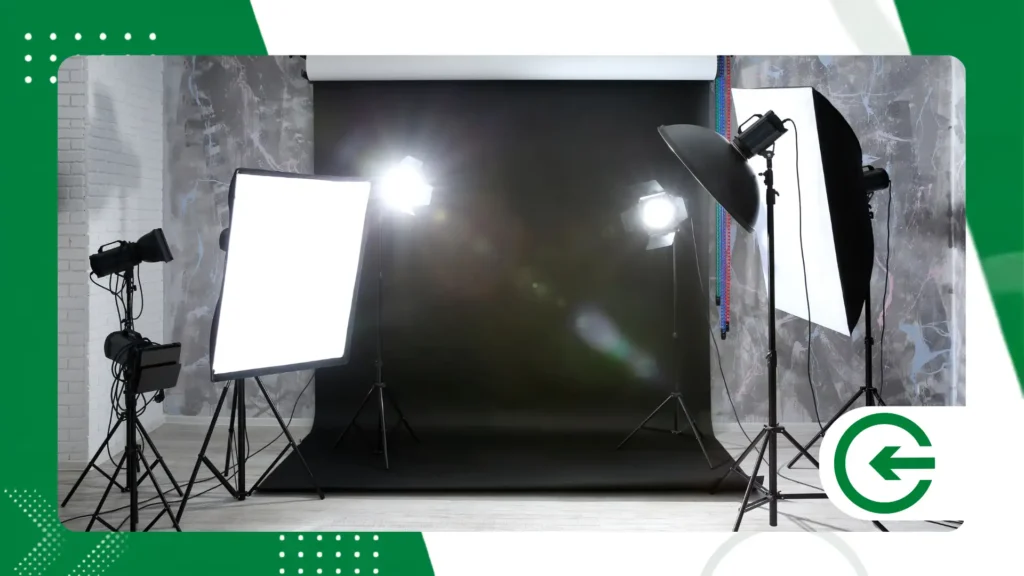
Adding lights in the background serves to separate the subject from the setting, breaking the monotony of flat images that seem glued directly against the back wall of the room.
There's a common mistake in home studios: over-illuminating the entire scene with the same intensity, which kills the intended atmosphere and disorients the attentive viewer.
Adjusting the intensity of the back focal point ensures a subtle gradient, keeping the eye focused on the subject without creating unnecessary visual distractions around the main composition of the frame.
Balancing the background light source color with the main lighting requires caution, as mixing opposing temperatures without planning can result in strange outlines and discolored skin.
How to avoid unwanted reflections and harsh shadows on the face?
Slightly rotating the face relative to the primary light source prevents harsh shadows from creasing along the nose or creating dark spots under the eyes in portraits.
Eyeglasses often reflect the glare from light bulbs; Slightly tilting the temples or raising the main light alters the angle of reflection, eliminating the annoying beam on the lenses.
Using reflectors positioned below the chin helps fill in areas of heavy shadow, softening tense features without losing the three-dimensional structure of the face photographed indoors.
Notice how slight head tilts transform the look: moving a few centimeters adjusts the visual impact, revealing the difference between a flat portrait and a striking photo.
When is it worthwhile to use an external flash to fill in the scene?
Using the built-in flash pointed directly at the subject flattens the features and creates an artificial look reminiscent of old amateur photos taken haphazardly at night parties.
Changing this dynamic requires bouncing the flash off the ceiling or side walls, spreading the light pulse and transforming it into a surprisingly soft indirect source.
To make use of Lighting tricks that improve your photos. This includes using flash in bright sunlight to balance the heavy contrast and fill in shadows under the mouth and eyes.
Adjusting the power manually prevents the flash from dominating the existing natural lighting, allowing you to harmonize ambient light with artificial light without creating abrupt cuts in the scene.
Mastering the synchronization between ambient light and flash requires constant practice, but it gives you complete control over the photographic atmosphere, regardless of the weather or location of the shoot.
++ How to create 2026 World Cup memes on your phone.
Conclusion
Mastering light means understanding that photography depends more on the perception of the environment than on the technology embedded in the camera.
When we adjust the direction of the light source and soften the shadows, the image gains the visual density needed to stand out among so many generic posts.
The path to perfecting your gaze requires practical tests: move the subject, change the angle of the lamp, and observe how the shadows construct the narrative.
To delve deeper into the fundamentals of color representation and lighting profiles in post-production, it is worth consulting the collection of... Adobe Color & Lighting Tutorials, a reference in digital workflow.
Perfect lighting is born from this balance between learned technique and the sensitivity to know when to break the rules to tell a good visual story.
Frequently Asked Questions (FAQ)
How can I improve photo lighting using only my cell phone?
When shooting near windows, disable the built-in flash and tap the brightest area of the screen to manually adjust the exposure before shooting.
What is the best time of day to take photos outdoors?
The hour after sunrise and the hour before sunset offer a golden, low light with soft shadows.
What to do when ambient light makes a photo look yellowish?
Adjust the white balance in your camera settings to Bulb/Tungsten mode or correct the color temperature during editing.
Are ring lights worth it for photographing portraits and products?
They work well for close frontal lighting, ensuring an even glow on the face and the characteristic ring of light in the eyes.
