
Double exposure in Snapseed: a step-by-step guide for beginners
A double exposure in Snapseed It's one of those tools that seems like cheap magic at first glance, but delivers absurd graphic potential when used intentionally.
ADVERTISING
This feature allows you to merge two images directly from your phone, combining portraits, geometric shapes, and landscapes without having to open Photoshop or get lost in complex layers on your computer.
There's something almost tactile about the process. It's not just about overlaying files, but about understanding how light and shadows devour each other when two photos meet on the same screen.
It's an accessible technique that transforms mundane gallery snapshots into dense and expressive visual compositions.
In this straightforward guide, you'll understand how to master this free Google tool, from the precise selection of images to the manual refinement of details that differentiate an amateur montage from a refined work of art.
advertising
Summary
- What are the requirements before starting the editing process?
- How to choose the ideal photos for double exposure?
- What are the steps to create a double exposure in Snapseed?
- What are the blending modes and when should you use each one?
- How to adjust opacity and contrast precisely?
- How to use layer masks to refine details?
- Conclusion
- What are the most common mistakes and how can they be avoided?
- Frequently Asked Questions (FAQ)
What are the requirements before starting the editing process?
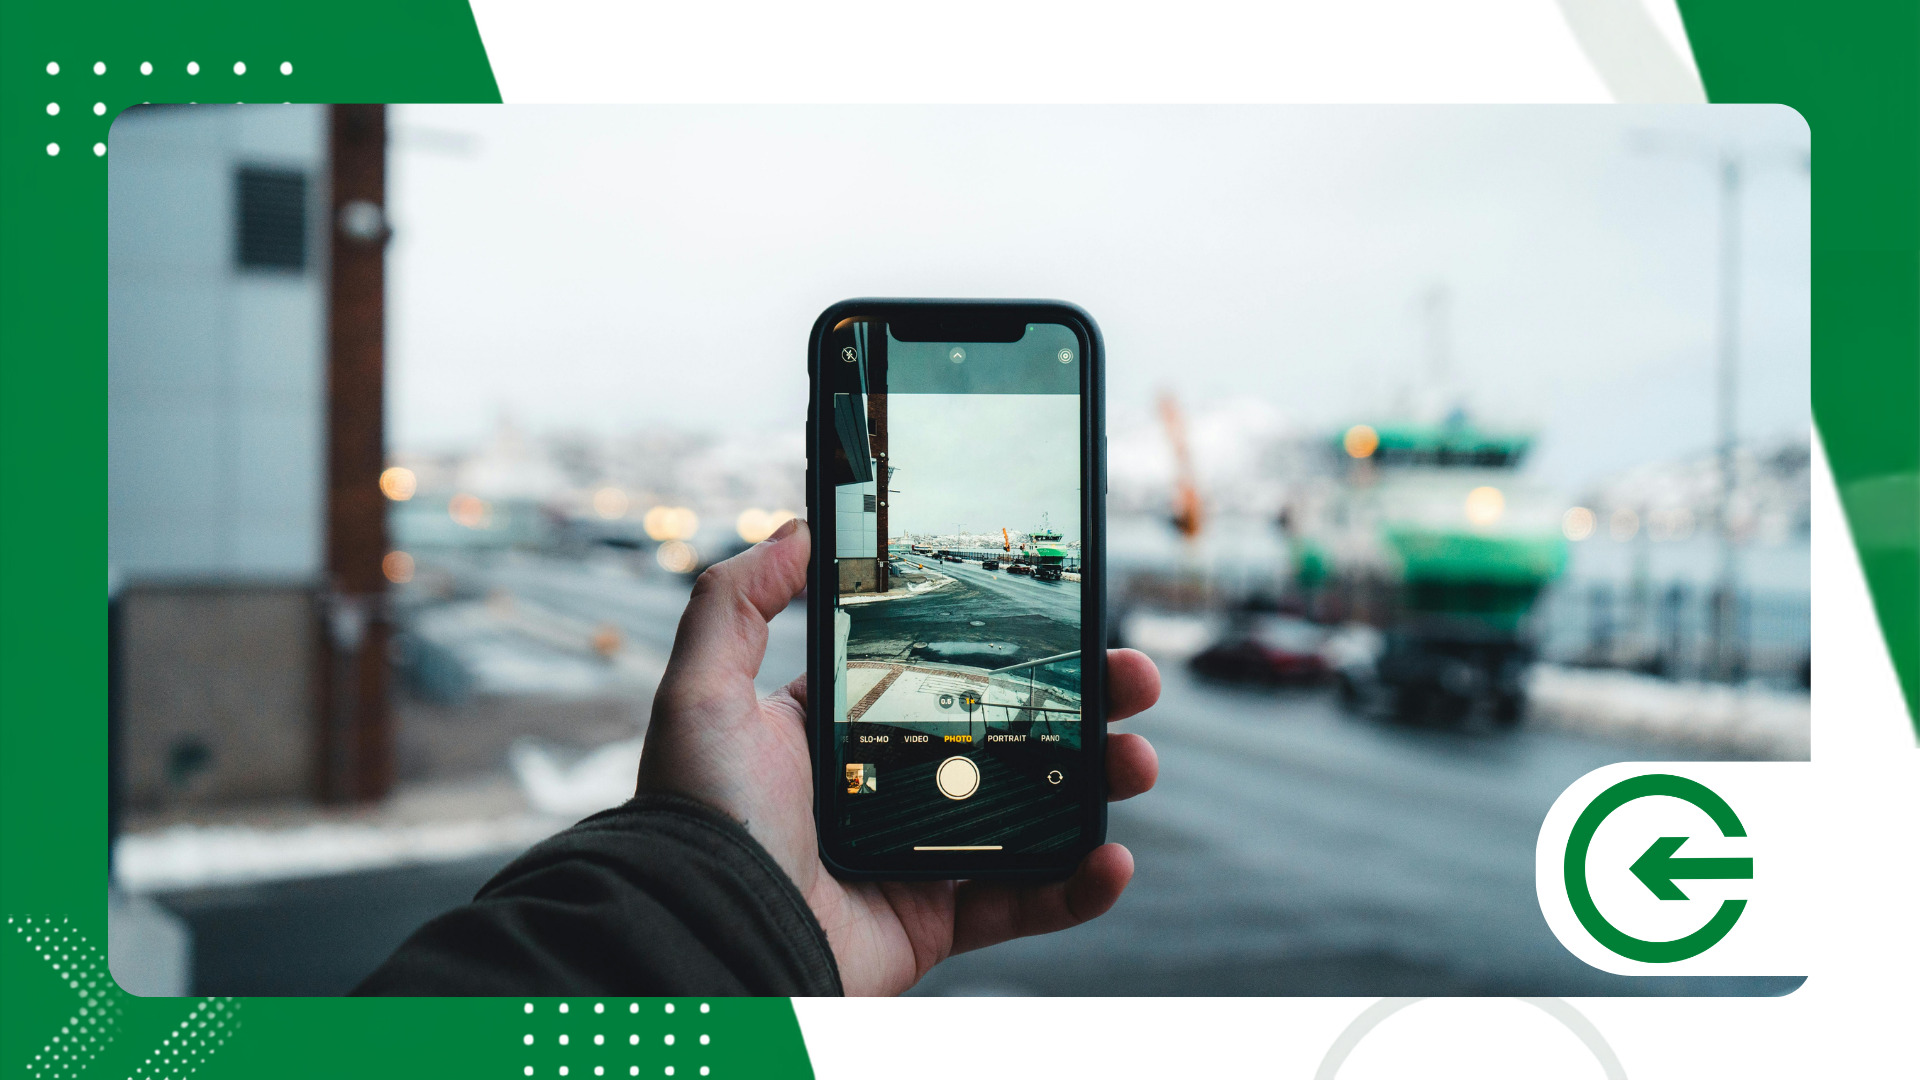
Available free of charge for Android and iOS, Snapseed processes JPEG, PNG, and even RAW files with surprising fluidity.
Keeping the application updated ensures that the rendering engines don't stutter when mixing large files.
To apply the double exposure in SnapseedJust make sure you have both images saved locally on your device. High-resolution photos ensure clean edges and prevent unwanted pixelation when manipulating the overlay sizes.
What are the steps to create a double exposure in Snapseed?
Open Snapseed, tap anywhere on the main panel and select the photo that will serve as the basis for the project. Navigate to the “Tools” tab in the bottom bar and scroll through the grid until you find the Double Exposure icon.
Tap the button with the plus symbol to import the second photo from your gallery directly to your desktop.
Adjust the scale and orientation of the texture by pinching with your fingers directly on the screen.
Move the elements until the most expressive visual patterns cover the areas of greatest shadow or interest in the base portrait.
Experiment with the styles in the central menu to observe the app's mathematical reaction to the mixing of photons from the two photos.
Open the slider with the droplet icon to adjust the transparency and prevent the texture from obscuring key features.
Tap the confirmation button in the bottom corner to solidify your project's starting point.
If you have any questions about application limitations or support for specific files, the Snapseed help page on Google Support It includes detailed documentation.
How to choose the ideal photos for double exposure?
The curation of the images is responsible for almost all the aesthetic impact of the final result. A lazy choice here will take its toll later in the editing process.
The base image requires well-defined contrast. Profile portraits with neutral or overexposed backgrounds work best because they create light and dark areas where the second photo can "anchor".
The overlay layer calls for vibrant textures: skyscrapers, intertwined branches, dense foliage, or the chaotic lights of a busy street.
Juxtaposing the silence of a face in shadow with the organic vibration of a forest creates an immediate narrative. When the base lighting is highlighted, the software interprets the fusion with much greater elegance.
++ How to create HDR effect on your phone without professional apps.
What are the blending modes and when should you use each one?
The app's algorithm offers six calculation modes that profoundly alter how pixels interact. Understanding the logic behind them saves you from frustrating attempts in the dark.
| Blending Mode | Main Effect | Best Indication for Use |
| Standard | Linear blend of transparency | Simple fusions and initial composition tests |
| Lighten | Filters and preserves high-light areas. | Fill in silhouettes and deep shadows with textures. |
| Darken | Maintains the density of shadows. | Introducing shapes onto bright, exposed backgrounds |
| To add | Add the light intensity of both | Design neon lighting effects and intense double exposures. |
| Subtract | Subtract the luminous values. | Conceptual, minimalist, and high-impact creations. |
| Overlap | It enhances the contrast of midtones. | Dramatic integration of landscapes into shaded portraits |
Working double exposure in Snapseed Using "Lighten" mode is usually the safest way for those looking to fit backgrounds within a person's outline.
If the goal is a denser, more mysterious aesthetic, the "Overlay" style accentuates the visual drama of the scene's dark areas.
++ Matte effect in photos: when is it worth using?
How to adjust opacity and contrast precisely?
Controlling opacity dictates the tone of the narrative. An overly heavy layer stifles facial expression; too light, and it loses its aesthetic purpose.
Sliding the indicator gently to the left restores the identity of the base photo without sacrificing the secondary texture.
Exiting the merge tool and immediately opening the "Adjust Image" option is the master trick for aligning highlights, contrast, and saturation.
Pulling out the contrast from the base layer before blending usually makes it easier to visually separate the layers, resulting in a more organic blend.
Removing the blacks from the background keeps the viewer's attention focused precisely on where the graphic story is unfolding.
How to use layer masks to refine details?
Selective masking is the feature that separates amateur productions from professional work in the mobile ecosystem. It prevents the second photo from encroaching on critical areas.
After applying the blending effect, tap the layers icon at the top of the interface, select "View edits," and click on the Double Exposure step.
Tap the brush icon located in the middle of the submenu to enter the mask painting screen.
Adjust the brush's numerical value: use one hundred percent to reveal texture or zero to erase excess product from the face.
Carefully paint over the eye, lip, and nose areas to remove any branches or buildings encroaching on the person's vital features.
Press the flip button in the bottom corner if you prefer to hide the entire overlay and reveal it only in the areas of interest.
Zoom in generously using two fingers to outline strands of hair and silhouette edges with total precision. Finalize the adjustment, confirm the work with the green marker, and return to the panel for finishing touches.
++ How to create custom presets to use on any photo
What are the most common mistakes and how can they be avoided?
The most common mistake is stacking two visually noisy photos together. The competition for attention between the subjects turns the result into a confusing jumble.
Another common mistake is ignoring opacity adjustments and allowing the top layer to obscure the fundamental features of the main image.
Forgetting to wipe the mask off the model's face destroys the human connection in the photo, creating strange smudges around the eyes or lips.
Working with backgrounds lacking natural contrast requires more editing time and rarely delivers the same impact as a well-lit image from the source.
When finished, always export the file at the device's maximum resolution to avoid loss of quality when uploading your work to Instagram or Pinterest.
To delve deeper into color theory and photographic language beyond apps, it's worth consulting the collection of... Bradesco Foundation in the Virtual School, a leading provider of open courses in technology and digital art.
Conclusion
Create a double exposure in Snapseed It's an exercise in observation and synthesis. The app removes operational barriers and returns the focus to what really matters: the intention behind each overlay.
Mastering the masking brush and understanding the dynamics of light between layers are fundamental steps to break out of the ordinary. With a little practice and sensitivity, your phone's gallery can gain new life.
Frequently Asked Questions (FAQ)
Does Snapseed charge a fee for using double exposure?
The app is completely free, with no hidden subscriptions, intermittent ads, or charges to unlock features.
Is it possible to combine more than two photos in the same creation?
Yes. Simply confirm the application of the first two images, save the edit, and start a new double exposure using the result as a base.
What is the most recommended file format for this type of editing?
RAW files preserve more shadow and light data for blending, but high-definition JPEG images still offer extremely good quality.
Why does the overlay image appear blurry?
This happens when the secondary photo has a much lower resolution than the base photo or when it is stretched beyond its limits in the pinch gesture.
