
How to create custom presets to use on any photo
Knowing how to create custom presets For quick application, it transforms the editing routine.
ADVERTISING
It's not just about saving time — although eliminating hours of manual post-production is a relief — but about building an instantly recognizable visual identity in any photographic workflow.
There's a common pitfall in photography: thinking that good post-processing can fix a bad shot.
The truth is that pre-definition works best when understood as a consistent technical starting point, and not as a universal magic trick capable of saving any poorly exposed file.
In this straightforward guide, we'll walk you through the practical steps for structuring, saving, and organizing presets in Lightroom and Camera Raw, without any theoretical jargon or unrealistic promises of complete automation.
advertising
Summary
- What are presets and how do they work in editing?
- What software should I use to develop my own adjustments?
- How to create custom presets in Lightroom step by step?
- How do I create custom presets on my mobile phone in the mobile version?
- What mistakes should you avoid when saving and applying your presets?
- How do I organize and export my files to other devices?
- Conclusion
- Frequently Asked Questions (FAQ)
What are presets and how do they work in editing?

Presets are simply instruction files. They store specific exposure parameters, tone curves, and color grading so you can apply them with a single click.
The mechanics behind this are simple: the software reads the saved numerical coordinates and alters the image metadata, keeping the original RAW file untouched. The efficiency gain when processing long shoots is huge.
Working with custom presets It helps maintain the aesthetic cohesion of your portfolio. However, caution is needed: each camera sensor interprets light and color in a different way.
The same .XMP file applied to a photo from a Canon and a Sony will yield slightly different results.
Therefore, the lighting of the base scene will always dictate the final behavior of the image, requiring minor manual adjustments to the white balance or exposure after application.
Why does visual consistency define the value of your work?
There is a stark difference between those who merely take photos and those who construct a recognizable aesthetic narrative in the market.
Consistency in color and contrast isn't just about making a feed look pretty—it conveys technical maturity, inspires confidence in the client, and creates a unifying thread throughout your entire production.
When you develop a refined eye for image processing, post-production ceases to be a chaotic process of trial and error.
Having complete control over how each skin tone, shadow, or lighting behaves creates a visual signature that functions almost like your trademark.
Ultimately, standardizing the delivery of your collection enhances the final result and optimizes your daily creative routine.
Investing time in honing your own personal style is the surest way to make your images stand out amidst the massive volume of content published daily.
++ How to create a color palette for Instagram in your photos.
How can you refine the visual finish and ensure naturalness in photography?
The search for the ideal aesthetic signature often stumbles upon excessive stylization. Skin tone, in particular, acts as the most sensitive barometer of good editing, reacting drastically to small deviations in tone curves or the luminance channel.
When post-processing overshadows the original texture and volume of the subject, the photograph loses its connection with the viewer. Therefore, moderation in the application of global effects is the dividing line between amateur work and a sophisticated result.
Developing a critical eye to perceive the line between technical enhancement and digital distortion requires constant practice. By training the perception of subtle nuances of light and shadow, post-production begins to enhance the narrative of the scene instead of masking it.
++ How to use adjustment masks in Lightroom on your smartphone
What software should I use to develop my own adjustments?
Adobe's ecosystem — dividing its strengths between Lightroom Classic, Lightroom Cloud, and Camera Raw — dominates the market due to its ease of synchronizing files between desktop and mobile devices.
For those who prefer to avoid recurring subscriptions or seek slightly more refined color control in the skin layer, Capture One emerges as the leading professional alternative.
In the mobile environment, both Lightroom for smartphones and apps like Snapseed get the job done, allowing you to create quick styles without needing a computer nearby.
| Editing Software | Exported File Format | Mobile Device Support | Color Control Level |
| Adobe Lightroom Classic | .XMP | Yes (via cloud synchronization) | Advanced (HLS, Curves, Gradation) |
| Adobe Lightroom Mobile | .DNG / .XMP | Yes (Native) | Intermediate to Advanced |
| Capture One Pro | .COSTYLE | No (Focus on Desktop) | Professional / Editorial |
| Darktable (Open Source) | .XMP | No | Advanced |
The choice of tool depends directly on the volume of your daily workload and how you prefer to organize your work folders.
Remember that no software can work miracles if your monitor is miscalibrated. Digital color management ensures that the tone seen on the screen will be the same in print.
To understand the technical standards for color profiles and screen calibration, it's worth checking out the open-source resources of [website/platform name]. DisplayCAL.
How to create custom presets in Lightroom step by step?
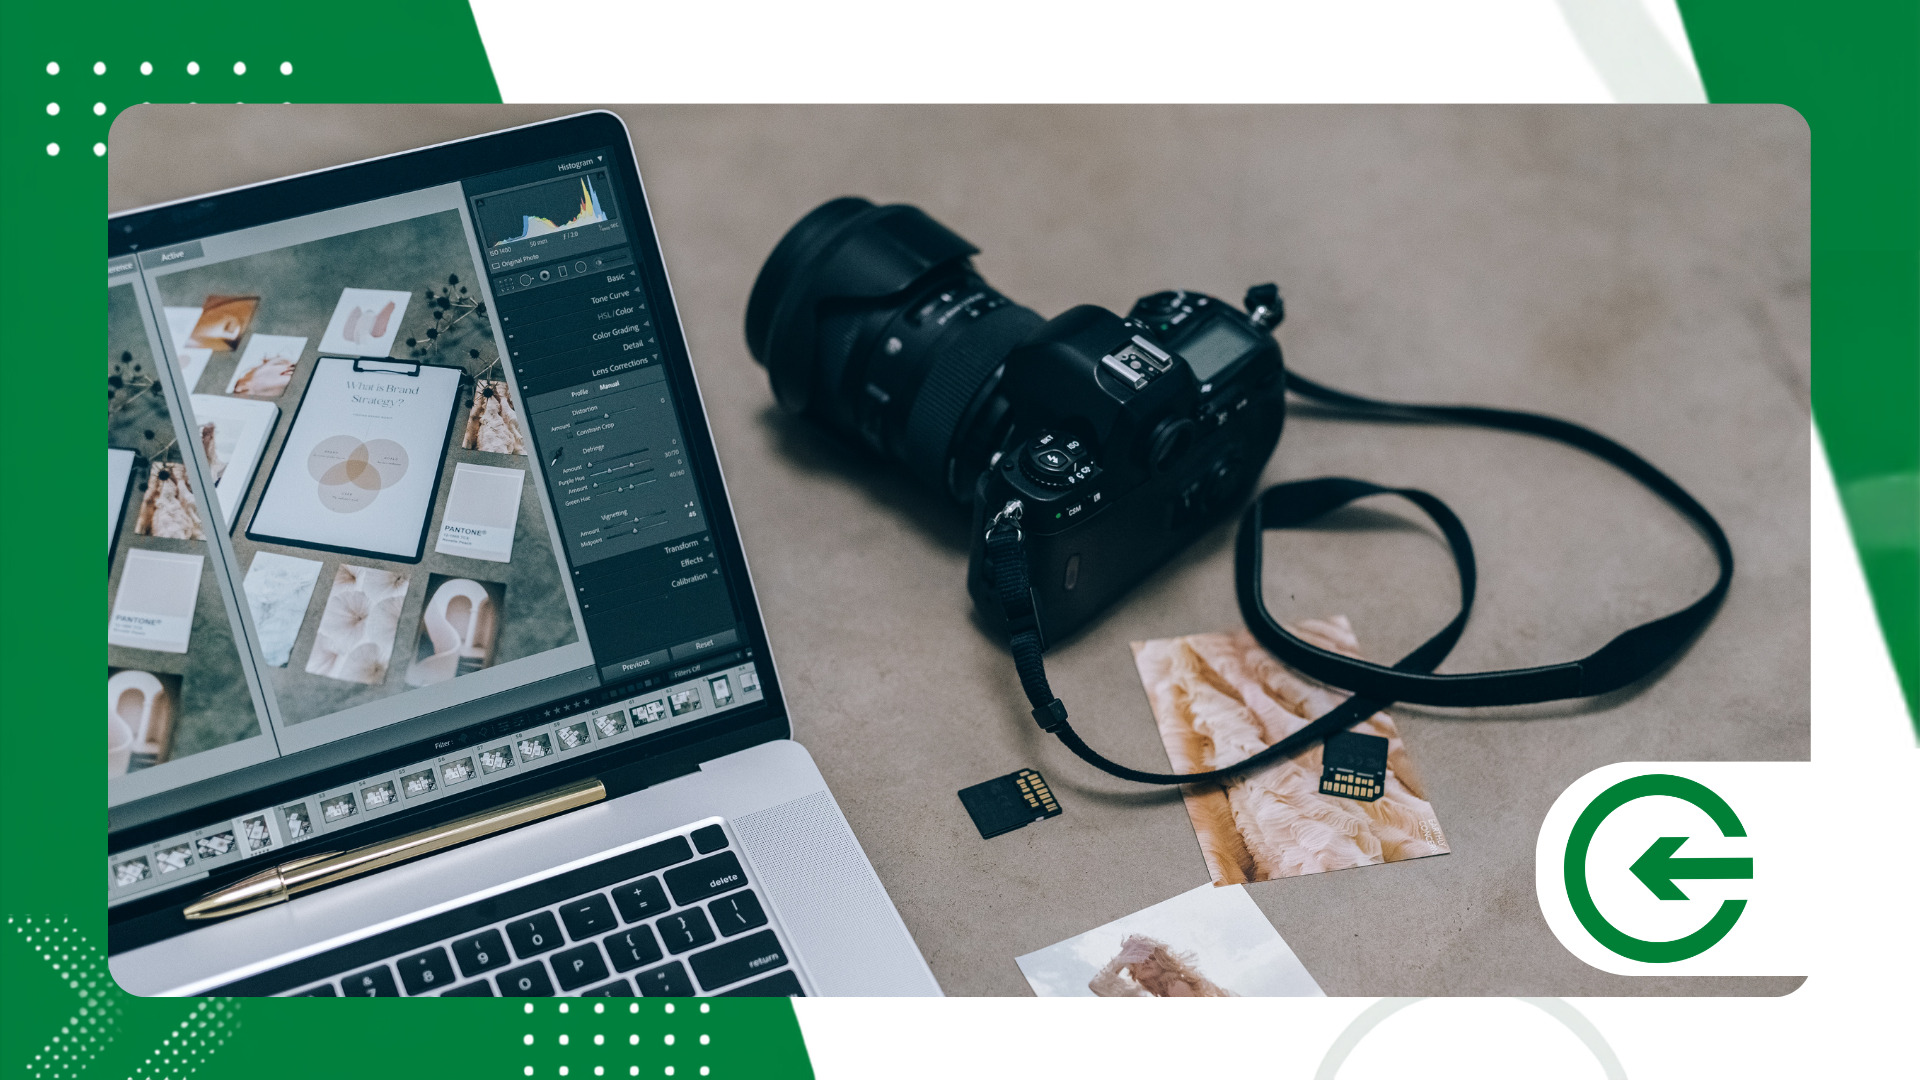
Choose a RAW photo with balanced lighting to use as a template. Avoid using images with blown-out shadows or blown-out highlights as the basis for your profile.
Adjust the Basic panel first. Work on the highlights, shadows, and overall contrast before touching any color styling tools.
Navigate to the HSL/Color panel to adjust the hue and saturation. This is where you determine whether the greens will be more yellowish or muted, always taking care not to distort skin tones.
In the left panel of Presets, click the (+) icon and choose the option to create a new preset from the dropdown menu.
This is the critical step: check only the boxes for the changes you actually want to replicate. Leave exposure, white balance, and local corrections unchecked.
Give the file a clear name, select an easy-to-find destination folder, and confirm the process by clicking the corresponding button.
How do I create custom presets on my mobile phone in the mobile version?
Open Adobe Lightroom on your phone and import a good resolution image — preferably a RAW file or a well-preserved JPG.
Make adjustments to lighting, color, and vignetting in the bottom menu. Gentle movements on the sliders usually work much better than drastic changes.
With the edited photo on the screen, tap the three-dot menu in the upper right corner and select the Create Preset option.
Give the style an intuitive name and create a specific group to separate these files from the application's native presets.
Remember to uncheck the cropping, geometry, and global exposure settings. The goal is to preserve the aesthetics of the edit, not the framing.
Tap the confirmation icon at the top of the screen to save the file to your account's internal storage.
To use custom presets Posting directly from your smartphone speeds up the process of posting content, ensuring that the feed maintains the same visual standard without requiring edits from scratch.
What mistakes should you avoid when saving and applying your presets?
The most common — and annoying — mistake is saving the white balance and exposure along with the preset.
Since ambient light changes with each shoot, applying a profile that forces a fixed color temperature will instantly ruin the tone of the new image.
Another oversight is including lens corrections or automatic cropping tools. Each lens's focal length distorts the edge in a unique way.
Be careful not to use a heavy hand in the HSL panel. Extreme saturation often creates color noise and visible artifacts when exporting compressed images for the web.
It's better to save subtle variations. It's much easier to enhance a weak effect than to try to correct a photo that has already received an excessive amount of contrast.
Test your creation in portraits, landscapes, and indoor photos to ensure the profile is versatile before making it your final default.
Adjusting the opacity slider in Lightroom's preset is a great way to modulate the impact of the style without having to redo the curves from scratch.
++ Matte effect in photos: when is it worth using?
How do I organize and export my files to other devices?
A cluttered library defeats the purpose of presets, which is precisely to save time. Create folders categorized by light type or scene environment.
To export a file in Lightroom Classic, right-click the preset name and select the Show in Explorer option (or Finder on Mac).
The file generated in the folder will have the .XMP extension. You can send it by email, share it, or import it into Camera Raw within Photoshop.
If the intention is to send the computer's preset to the mobile phone without cloud synchronization, the easiest way is to use a DNG file.
Export the edited photo in DNG format with the embedded settings. Open this file on your phone and copy the settings to create a new local preset.
Make frequent backups of your preset folder to an external drive or cloud service. Losing years of visual identity development due to hardware failure is avoidable.
To understand more about the technical management of metadata and digital image file standards, it is worth consulting the collection of... W3C Digital Imaging.
Conclusion
Mastering the creation of custom presets It's the step that separates intuitive and time-consuming retouching from a conscious, professional workflow.
By understanding which parameters should be recorded and which need to be left out, you gain the freedom to consistently apply your trademark to hundreds of photos.
Adjust your tools, test the profiles in different lighting conditions, and build a visual repertoire that works in favor of your time, not the other way around.
Frequently Asked Questions (FAQ)
What is a preset and what is it used for?
It's a saved set of editing parameters that allows you to automatically apply a specific color and light style to new photos.
Is it possible to use a preset created on a computer on a mobile phone?
Yes. This can be done via automatic synchronization with your Adobe account or by manually transferring a DNG file with the edits saved in the metadata.
Why does my preset look different on different photos?
Because variations in original lighting, white balance, and the camera's sensor itself alter how the image reacts to the file's numerical commands.
How do I save presets without altering the original exposure of the photo?
Simply uncheck the Exposure and White Balance options in the parameter selection dialog box when saving the profile.
Can I sell the tweaks I develop for my program?
Yes. You can export the files in .XMP or .DNG formats and market them in digital packages to other professionals and enthusiasts.
